Jump to the specific type of molding you're installing: Wood | Peel & Stick | Clip-On
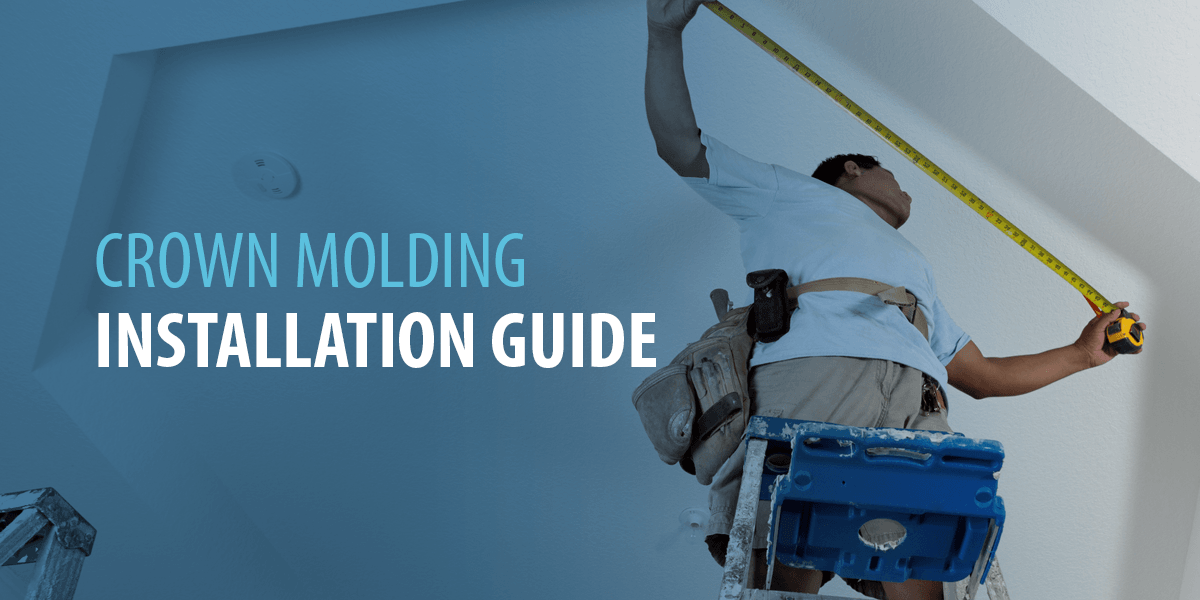
Crown molding is a classic feature that adds elegance and class to any room — it's one of those impactful little details that can transform a room from a nondescript box into an ornate palace. But many types of crown molding exist, and each type requires a specific installation procedure. Read our handy guide to learn what types of crown molding are available and familiarize yourself with our detailed installation instructions.
What Type OF MOLDING Are You Installing?
Crown molding is available in a variety of materials, and each requires different installation methods and different levels of experience. Below are some of the most common types of crown molding.
- Plaster: Often found in luxurious interiors with plaster walls, plaster crown moldings often feature intricate profiles, which, as you might imagine, can be expensive. Plaster also weighs a significant amount and can crack easily.
- Solid wood: Crown molding made from solid wood works well for any installation. This traditional material has been in use for centuries, and its grains and colors add lots of warmth to a room. However, it is fairly pricey and, if you live in a place with lots of humidity, it might expand and contract with the temperature. Installing wood crown molding is particularly difficult — even for professionals — because it consists of three separate pieces.
- MDF: MDF, or medium-density fiberboard, is an economical alternative to the more expensive wood crown molding. It comes in veneered or stained options, although you can paint it if you don't like the look of the natural wood finishes. Make sure to handle this material carefully, as it is more susceptible to denting than wood.
- Polyurethane: Polyurethane is another type of crown molding that goes well with most installations and is also impervious to pests, which include beetles, woodworms and termites. It is an affordable alternative to plaster, as you can find similar-looking casts for much less. Like MDF, polyurethane is vulnerable to denting, so be extra careful when installing it.
- PVC: This material is an ideal choice for exteriors, bathrooms or any other place where moisture could be a problem and a simpler profile is suitable. PVC consists of plastic polymers, which will not warp or rot, regardless of how humid it gets. Because of its construction, however, there are few profile options available and no intricate designs. It also has a slippery surface that makes it difficult to paint, and unfortunately, it's necessary to apply paint to this material.
- FLEX: This type of crown molding was designed for window bays and curved walls. Many profiles are available and, although it is less costly than custom carpentry, it is still expensive and must be special-ordered.
- Polystyrene: Typically used for a speedy room redesign, this material is easy to cut using a knife or scissors, and you can install it using construction adhesive. However, the texture of polystyrene is thin, and its edges are not particularly crisp.
- Clip-on: One of the more attractive and easier-to-install options, clip-on molding requires few tools, and anyone can perform the installation. The installer screws clips into the wall and then attach the molding to the clips. See below for more detailed instructions on installing clip-on molding.
- Peel and stick: Installing peel-and-stick molding is very easy, although many people generally consider it to be less attractive. As the name implies, this product involves peeling off the tape from the molding and sticking it in place. You can find more detailed instructions below.
Installing Wood Molding
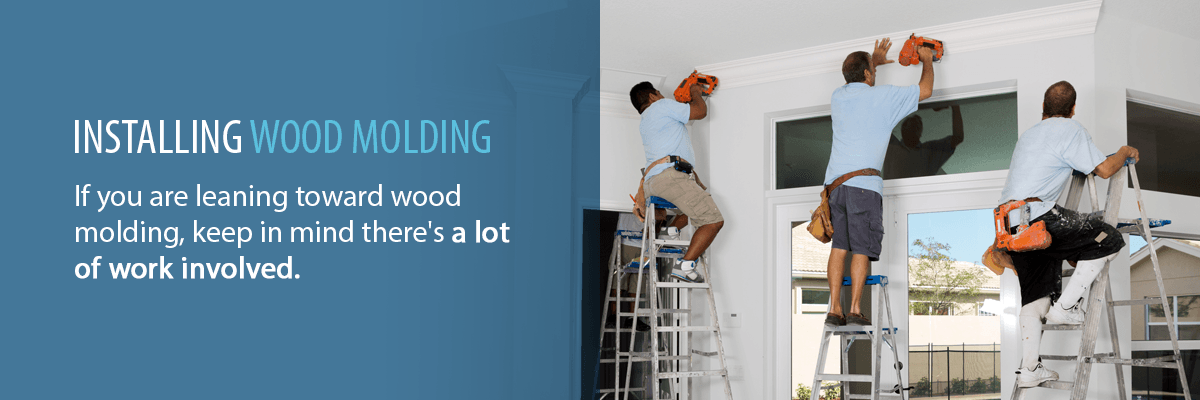
If you are leaning toward wood molding, keep in mind there's a lot of work involved. You'll need to acquire specialized tools such as nail gun and a miter saw. You'll also have to deal with complex angles. Most DIYers who do attempt this project end up having professionals finish the task. Below are the many steps this complex process entails.
- Mark the corners: Find a small scrap section of crown molding and press it against the ceiling and wall in one of the room's corners. Using the molding's bottom edge as a guide, draw a line on the wall with a pencil. Do the same on all the other inside and outside corners of the room.
- Connect the lines: Connect the pencil lines you've drawn by snapping a chalk line.
- Mark the studs: Mark on the walls where the studs will go.
- Place the crown molding in the corner: Press the first crown molding segment up against the ceiling and wall and push it tightly into the room's corner.
- Mark the molding: Mark the location of the wall stud near the exact midpoint of the wall onto the crown molding.
- Place it on the miter saw: Flip the molding upside down and place it into a compound miter saw. Push the molding flat against the horizontal table and vertical fence of the saw.
- Cut the molding: Change the miter angle to 45 degrees and then cut a scarf joint in the molding.
- Place the molding: With its square-cut end in the corner of the room and the bottom edge touching the chalk line, hold the molding tightly in place.
- Nail it in: Using two-inch nails and a pneumatic finishing nailer, attach the molding to the studs in the wall.
- Place the second length: Press the next length of molding against the ceiling and wall, and make sure it extends beyond the scarf joint of the crown molding you just installed.
- Mark the overlap: Put a mark where the second molding is overlapping the scarf joint.
- Cut the second length: Take the second length and cut a matching scarf joint.
- Nail it in: Cover the scarf joint in some carpenter's glue and hold the second crown molding length in place. Ensure that scarf joint can tightly fit together, then nail in the molding to the ceiling and wall.
- Cut another length for the next wall: Using the miter saw again, cut out a crown molding length for the next wall. Then use a coping saw to back-cut the miter joint, which will make a coped joint.
- Place and nail in the length: Put a small amount of white acrylic-latex caulk on the coped cut you made. With the coped end pressed tightly against the molding you just installed on the adjacent wall, press the molding in place. Then, nail it to the ceiling and wall.
- Repeat: Repeat all the previous steps for the remaining walls, remembering to cut coped joints at the inside corners and scarf joints along walls.
- Deal with outside corners: If there are any outside corners in the room, cut a miter joint of 45 degrees on both ends of the mating lengths of the crown molding. Attach the miter joints with glue and then nails.
- Add construction adhesive: If your wall is made of brick or concrete blocks, put construction adhesive along the full length of the molding's back bottom edge. Then, attach the molding's top edge to the ceiling with nails.
- Caulk the edges: Add caulking to the crown molding's bottom and top edges. Then, fill in all the nail holes using wood putty.
- Paint: Apply a high-gloss latex paint to the crown molding.
Installing Peel and Stick

Peel-and-stick molding is perhaps the easiest installation method of all. It's also light, durable and is an excellent option for hiding wires. All pieces come with a miter cut, so the only necessary tool is a pair of scissors.
There are only two steps to correctly installing peel-and-stick molding:
- Peel Tape Off: Peel off the backing from the 3M tape.
- Stick on the Desired Wall: Stick the piece to the wall and push. You can adjust the molding to the length of the wall without measuring.
- It often requires you to put nails through the face of the crown molding, which can be unattractive.
- It also requires you to cut angles with a high degree of accuracy — otherwise, the finished result will not look good.
- If the room is not perfectly square, you will need to apply caulk to the gaps between the molding and the ceiling.
- If the molding is pulled off, it'll often remove paint from where it was.
Installing Clip-On Molding
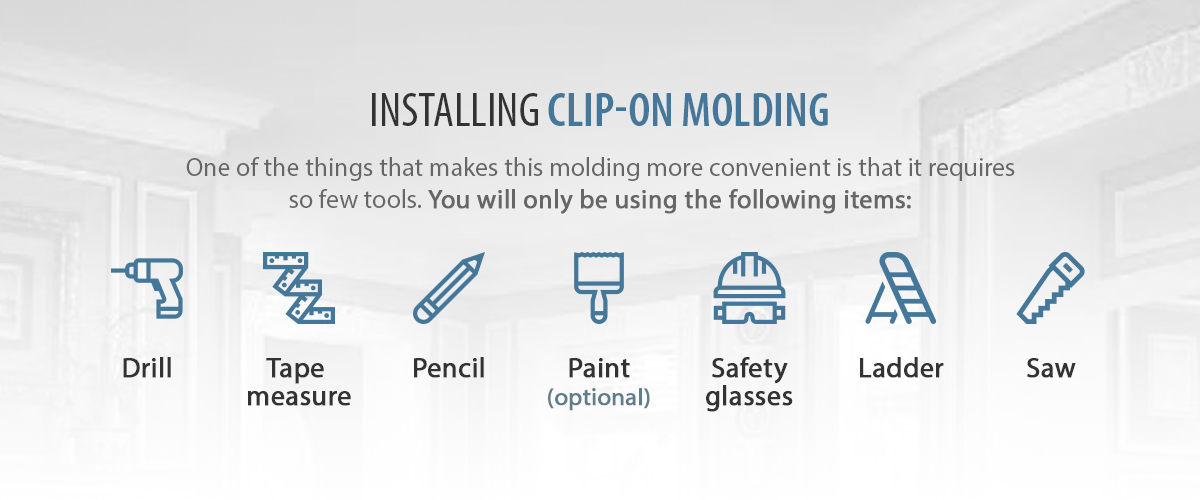
Clip-on molding is a straightforward option any homeowner can easily accomplish in an afternoon — and the result looks polished and professional. If you want your crown molding up quickly without having to pay a professional installer, follow our installation steps below.
One of the things that makes this molding more convenient is that it requires so few tools. You will only be using the following items:
- Drill
- Tape measure
- Pencil
- Paint (optional)
- Safety glasses
- Saw
- Ladder
Once you've gathered the above items, follow the steps below or watch the installation video:
- Paint: Paint all pieces prior to installation and let dry.
- Screw on Corner Clips: While the paint is drying, you can start screwing the stem pieces of the decorative corners of the Molding Mate™ into the top plate of the wall.
- Find Center of Wall and Screw on Clip: Figure out the midpoint of the wall and place one of the Quick Clips™, which you will use later on to install the connector block.
- Install Remaining Clips: Take the remaining clips and install them around the room at roughly 12-inch intervals. Precision is not critical.
- Measure Crown Molding Pieces: Measure to determine how long each crown section will be.
- Cut Molding: Once your paint has dried, cut to length each crown piece using a 90-degree straight cut.
- Clip on the Molding: Starting in one corner, press the lower bedding edge of the crown against the wall, several inches below the clips. Slide the crown up against the wall until you can feel the bottom groove on the back engaging the bottom of the clips.
- Secure the Clips: Tap the crown lightly across its entire length to secure it on all the clips.
- Snap Connectors and Corners into place: Once you've installed all the pieces, snap the accessories into place.
- Caulk if Necessary: You're done! If you'd like, you can also caulk to cover the gaps.
Finishing Your Crown Molding
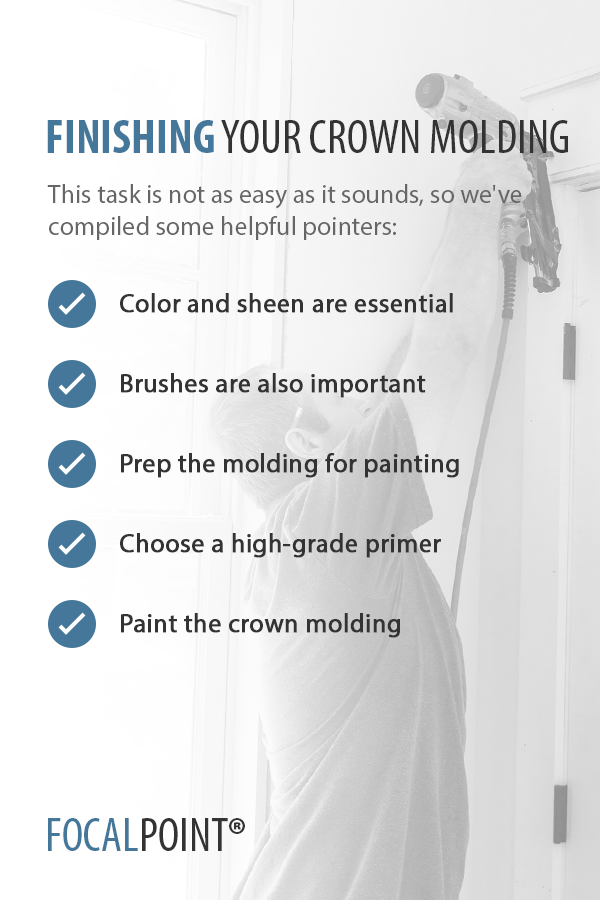
Once you've installed your crown molding, one step remains: finishing it. This task is not as easy as it sounds, so we've compiled some helpful pointers:
- Color and sheen are essential. When deciding on a paint sheen for your crown molding, high-gloss paint has more of a kick than flat paint. As for your color, you may choose a hue that is dark, contrasting, analog or complementary, but keep in mind very bold or dark colors will make the molding stand out too much.
- Brushes are also important. Enamel and angled sash varnish brushes work the best for this task, and they should also have tapered edges and flagged tips. These types of brushes differ in that they make paint application easier, they can hold more paint and they create a more attractive finished product with fewer brush strokes. Furthermore, these brushes also make detail work easier because they enable you to trace sharp edges with more accuracy, so you'll have less trouble when painting next to ceilings or walls.
- Prep the molding for painting. If you notice any dents, cracks or nail holes in the molding, repair them with a good wood filler. Once the filler dries, you should then sand the crown molding one small section at a time. Run your fingers over the molding to find any imperfections you may have missed. This step is essential because even small blemishes will be visible when you apply the finish coat. Once you have sanded away all the defects, wipe the surface using a wet rag. If the joints between the molding and the ceiling or the wall have any imperfections, first add primer to the molding, then put caulk over it and smooth it out using your hand.
- Choose a high-grade primer. Ideally, you should use a wood primer that will also seal the surface. Use long and even strokes. When starting a stroke, move your brush toward the last stroke you applied. Use a light finishing stroke to complete each section.
- Paint the crown molding. Once your primer is dry, add a coat of paint using the same technique as in Step 4.
These additional tips may also be helpful:
- If you're using a lighter paint color, use two coats to ensure proper coverage.
- Let each coat dry for the amount of time recommended on the label of the product.
- For wood molding, you'll complete this step before installing your molding. For clip-ons, you may paint the molding before or after.
Check out Focal Point'S Molding

Our crown molding kits offer the best of both worlds: They're quick and easy to install and look completely professional. They include the Quick Clips™ and Molding Mate™ systems, which allow you to install our crown moldings with few tools and no experience whatsoever. You won't have to worry about botching the cutting, either, as our products have a four-inch margin of error.
We offer four kits, each of which features a distinctive, beautiful design:
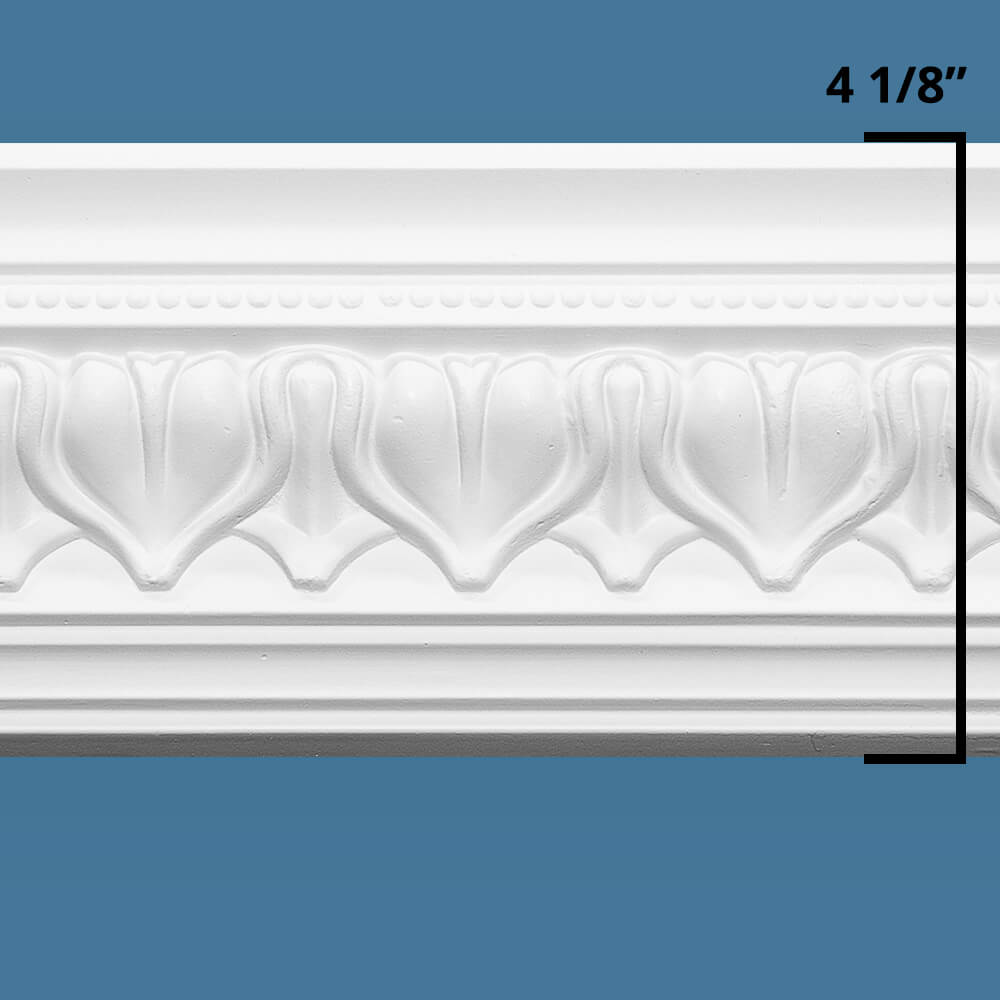
- Acropolis Crown Molding Room Kit (4 1/8")
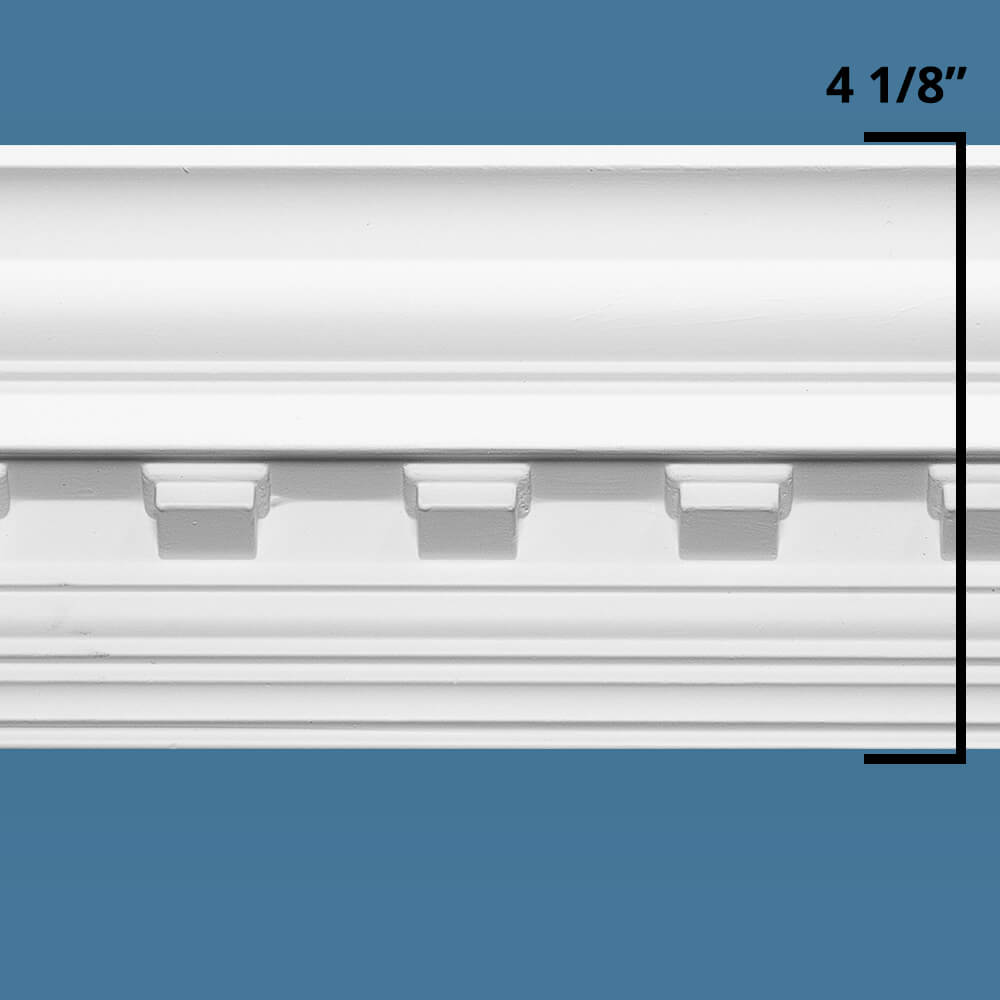
- Concord Dental Crown Molding Room Kit (4 1/8")
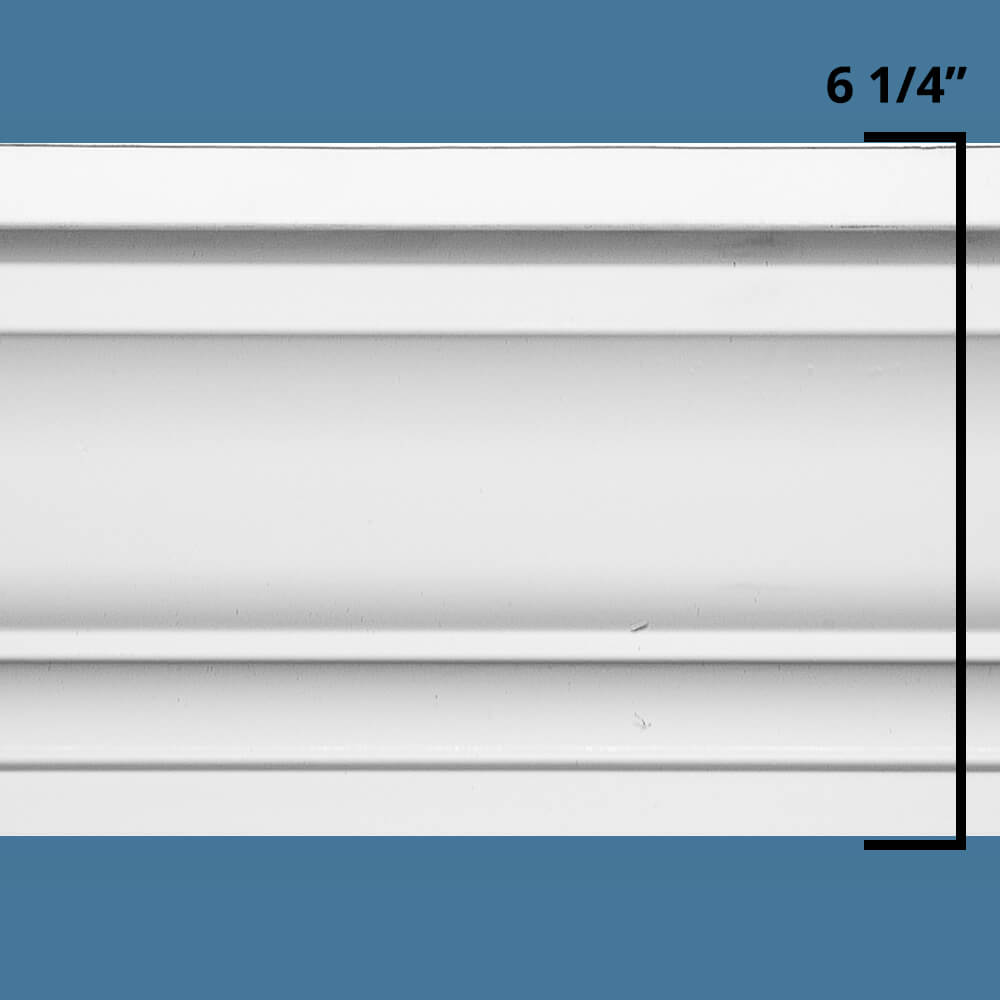
- St. James Crown Molding Room Kit (6 1/4")
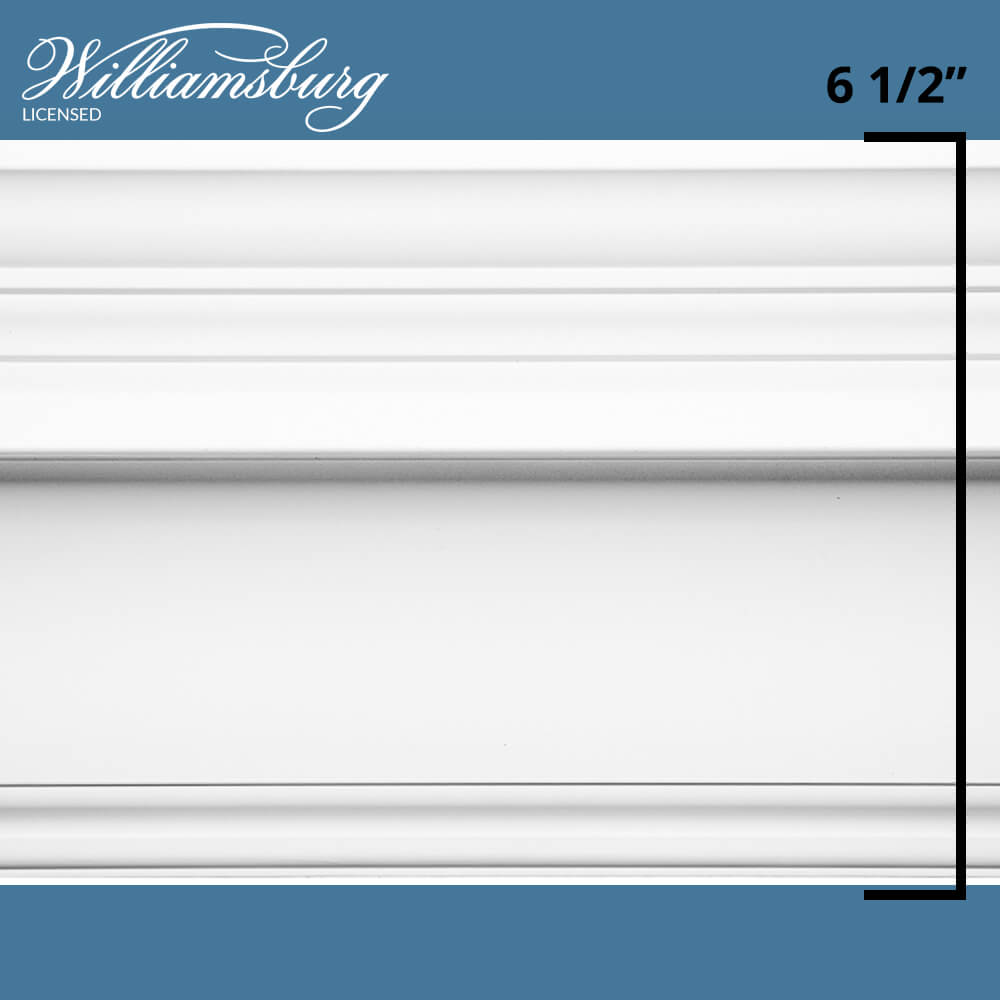
- Governor's Palace Crown Molding Room Kit (6 1/2")
If you have any questions about our installation kits or other products, feel free to reach us using our contact form.