Are you trying to figure out how to breathe fresh life into a room? Redecorating and refurnishing can cost thousands of dollars. Laying new flooring or painting may require skills or tools you don’t have. Luckily, there’s still something you can do to transform the space. You can install no-nail foam crown molding by Focal Point Products. Our molding installs with clips, and some customers prefer to also use ALEX Painter's Caulk as well to seal the molding to the wall and cover any small gaps between the wall or ceiling and the molding.
What Type of Adhesive Should I Use with Polyurethane Crown Molding?
Right now, you may be scratching your head wondering if you read that suggestion correctly, but we can assure you that you did. No-nail crown molding is a real thing, thanks to the innovative minds at Focal Point Products.
Instead of using nails, you can use latex caulk to install crown molding with minimum effort. You don’t need to be a seasoned handyperson to use our products. Whether this is your first or 50th do-it-yourself home improvement project, using adhesive for crown molding by Focal Point makes transforming a room into a stately, timeless space a breeze.
Why Use Painter’s Caulk As your Adhesive for Molding?
While you can certainly install our no-nail crown molding without using an adhesive, there are a few reasons you should use painter’s caulk. The first reason is that using an adhesive for crown molding makes the trim a lasting upgrade. Although our patented clips will hold our crown molding in place — and our molding mates will cover imperfect end cuts — painter’s caulk will ensure your molding remains in position permanently.
Plus, using painter’s caulk will also give your installed molding a look that’s more professional. For an upgrade to be successful, it must add value and have a pleasing look. By applying an adhesive, you’ll ensure your molding wows everyone who enters the room. Best of all, you won't need expensive equipment or special expertise to apply the adhesive, and you may be able to install your new molding in as little as a few hours.
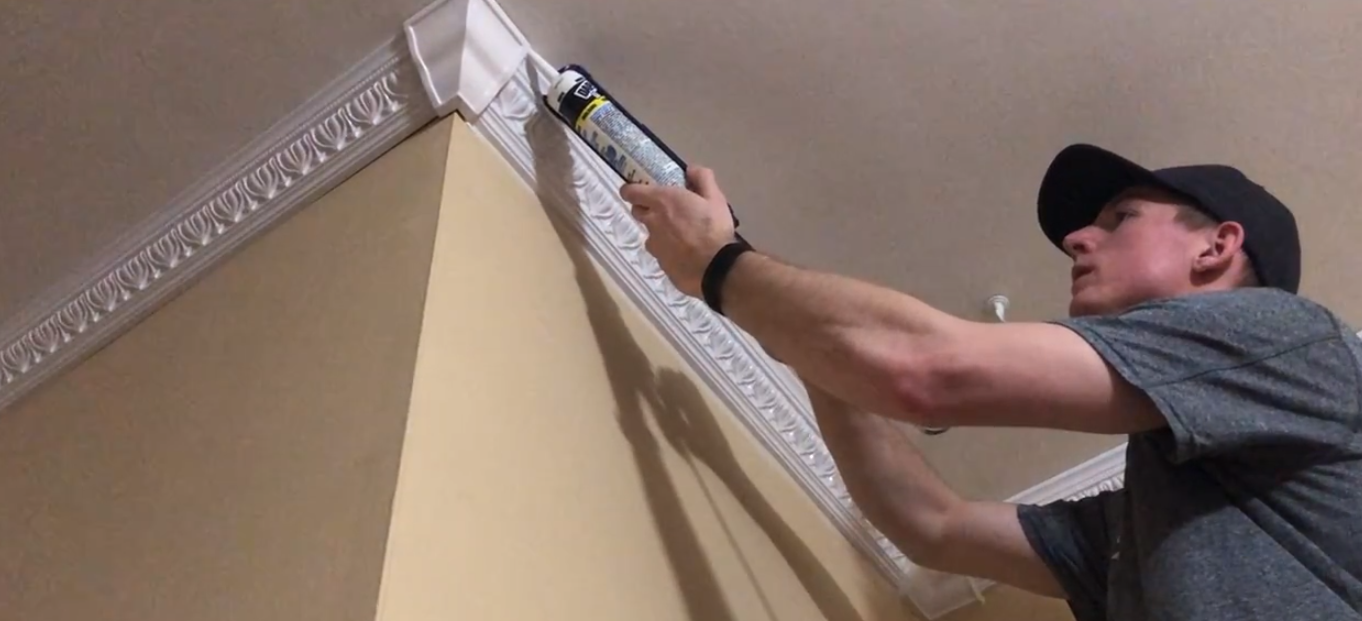
The only tools you’ll need to apply the adhesive are a caulk gun and a wet sponge to smooth and remove any excess adhesive. Of course, if you want to give the impression that you worked much harder than you actually did, there’s no harm in having a power tool or two along with a sweat towel nearby…although they may draw suspicion when no one hears the tools being used and your towel remains perfectly dry to the touch.
Quickly Install Crown Molding for Less Money
Installing our no-nail crown molding can take as little as an hour or two, depending on the size of the room and the scope of your project. That includes applying painter's caulk to cover gaps between the molding and the walls or ceiling! If you want to paint the adhesive, make sure you use a paintable caulk. You can easily finish your entire project on the same day you start it, painting included.
Not only is our crown molding easier to install than traditional molding, it's also less expensive. Compare the cost of buying the materials plus hiring a contractor, and you'll see why professional decorators turn to Focal Point Products again and again. With no studs to locate or cordless drills to charge, you can quickly upgrade the look of your room — even if you're not an expert carpenter.
No-Nail Crown Molding Is Our Specialty
When you order crown molding from Focal Point Products, you’ll see that our products use Quick ClipsTM. This patented system allows you to install our crown molding without using nails. While you don’t necessarily need an adhesive to install our great looking crown molding, many customers have said that doing so improves their finished results. This is particularly true when they added crown molding to a room in an older home that was noticeably out of plumb. Our no-nail crown molding saves you time, money and aggravation.
Don’t delay! Order your Crown Molding Kit from Focal Point Products today.