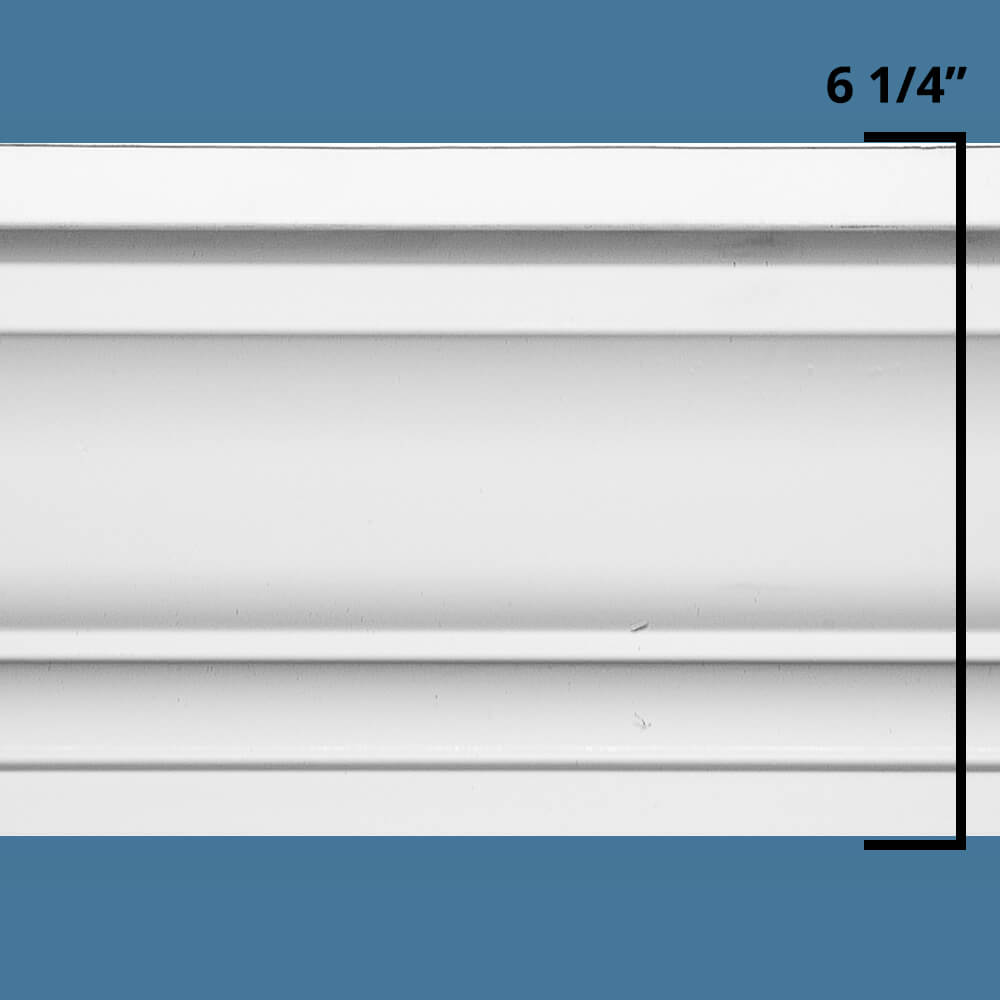
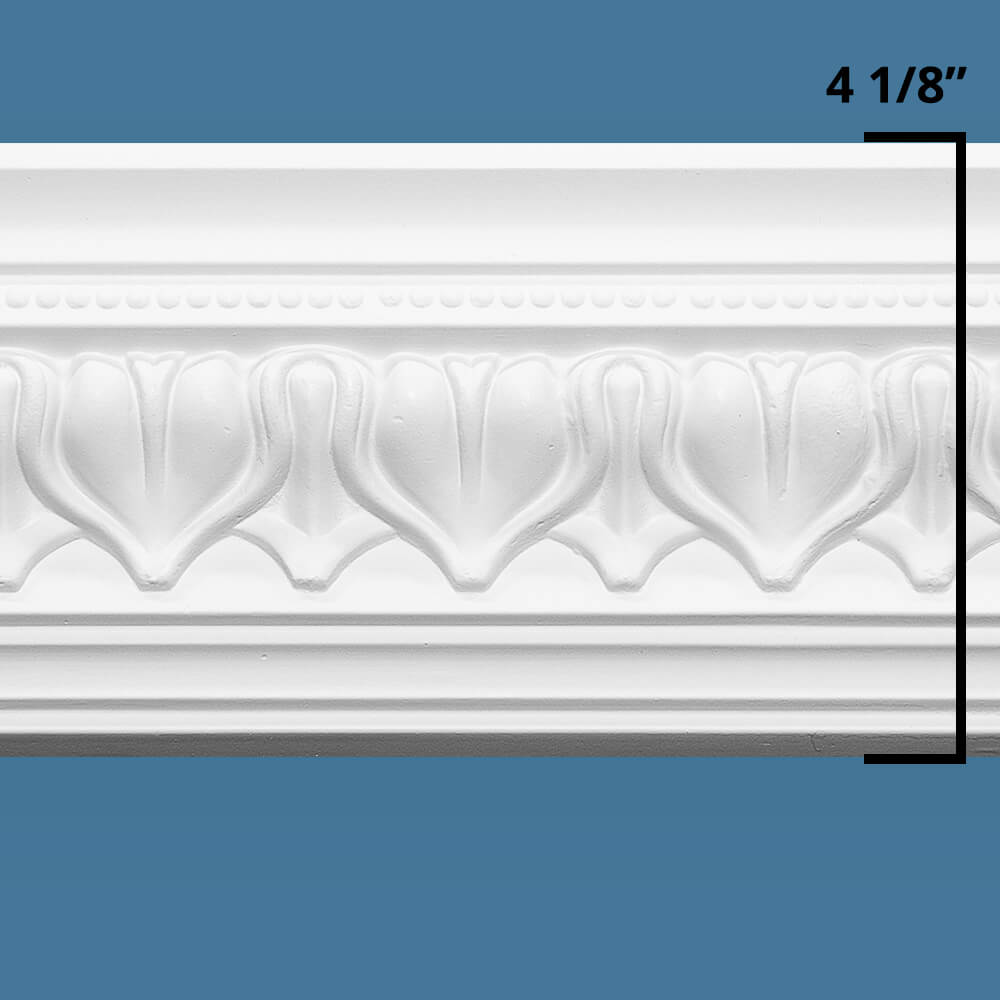
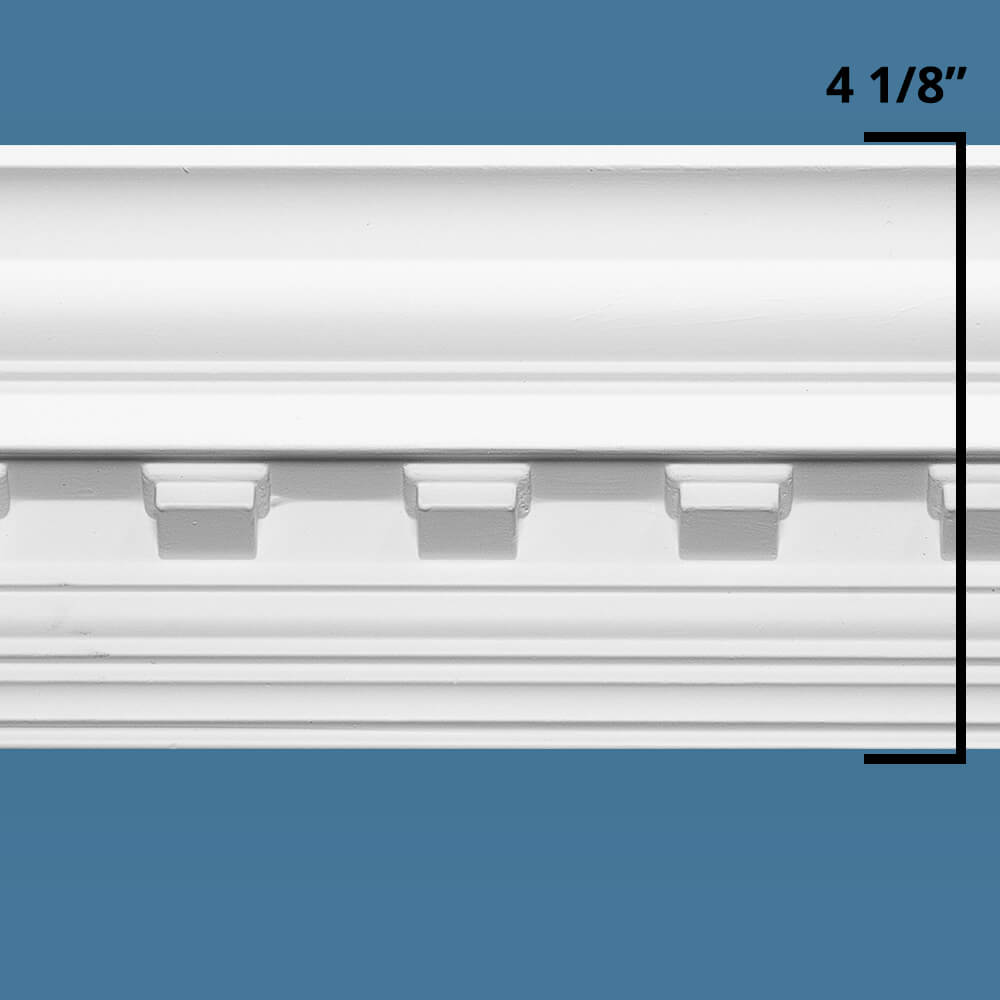
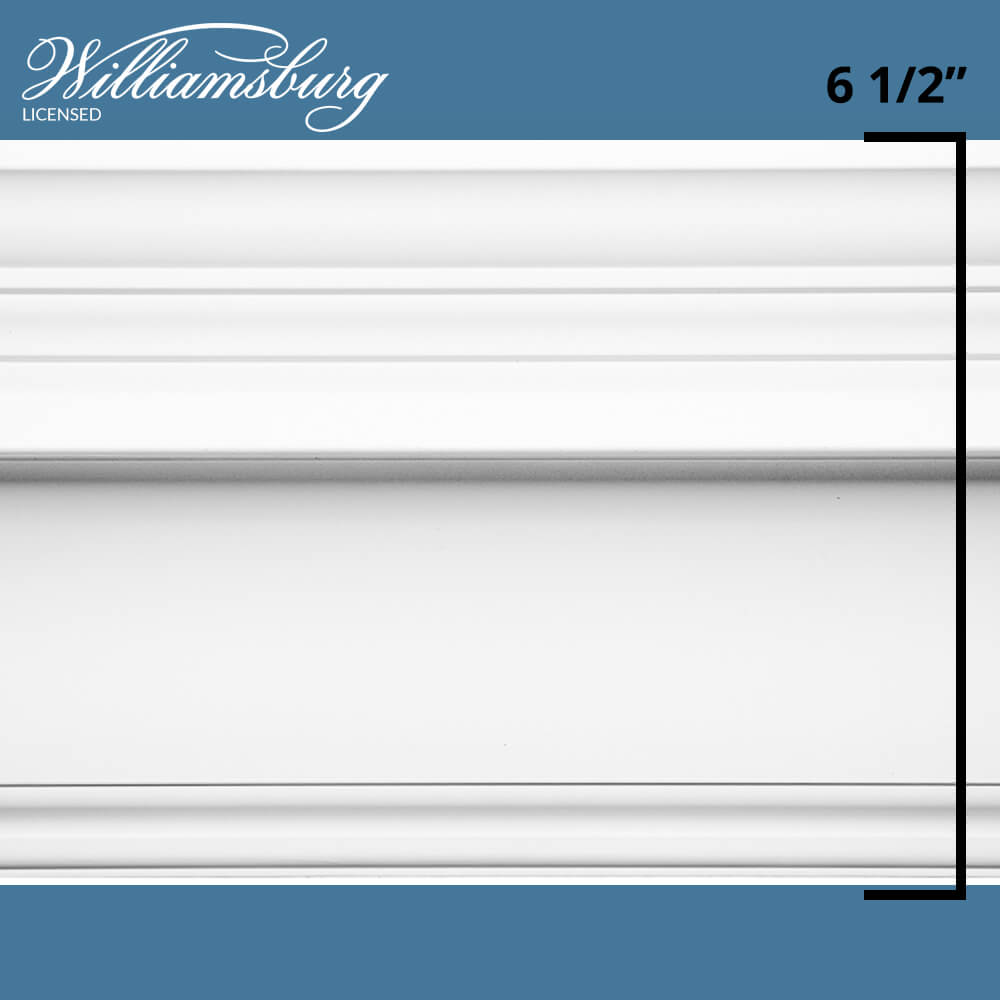
Fitting a room with crown molding provides it with a significant increase in depth and character while helping to reinforce your personal style.
As ornate as this embellishment is, traditional materials can be difficult to work with during installation. The process requires precise measurements and clean cutting to create a seamless connection between segments. If you plan on tackling one of these projects, here are some tips to guide you through measuring and cutting molding.
If you plan on using the corner pieces included with our kits, follow the instructions below:
If you plan on measuring and cutting the molding corners, follow the instructions below:
Tools You'll Need
When you're working with solid woods, plaster and other building materials, you'll need a few vital pieces of equipment, including the following:
- Tape measure
- Safety glasses
- Miter saw
- Pencil
- Combination square
- Clamps
- Scrap wood
Steps to Follow for Measuring and Cutting Molding
Molding typically has two angled edges, and its unique alignment usually requires it to lean against both the ceiling and the wall. Utilizing the miter saw to cut the proper size each time can be frustrating, especially since walls rarely meet at a perfect 90 degrees. To make life a little easier, here's some advice:
1. Utilize Two Pieces of Scrap Wood
Make sure both wood pieces are the same width. Place one board on the wall near the ceiling, then lay the second piece on top of the first with approximately an inch of overlap. It's important that you place the second piece on an outside corner that faces the interior of the room. On an inside corner that faces away from the room's interior, lay the second board on top of the first and then push both of them into the corner.
2. Make Marks and Measure Molding
After setting up your measure, use a pencil to mark where the two scraps overlap by drawing a line along the edge of the board closest to you. You'll then need to connect the two opposite corners created by moving the edge of the closest board to the ceiling and the pencil line. Using your combination square as a straightedge, draw a diagonal from corner to corner. This diagonal represents the bisection of the actual angle created by the two walls.
Once you set the miter saw to make a cut along the bisection line, you can gauge your needed crown molding length by taking the tape measure and running it from one corner to the next. Remember that the inside corner represents the long point of the miter cut, while the outside corners represent the opposite. Mark these points with a pencil.
3. Set up for Cutting
You can then place the crown molding panel upside down on the miter saw. The bed will act as the ceiling, and the saw's fence will act as the wall. Secure the segment with the clamps, make the cut and then repeat the process with the others until you have what you need. With our molding, a number of saws will work, including handsaws or a jigsaw as seen in the video above.
Make Measuring Easier With Faux Crown Molding
Doing these DIY projects will often feel overwhelming for a lot of people, and that's nothing to be ashamed about. Installing traditional crown molding requires a lot of patience and effort, and even the best carpenters can succumb to frustration.
If you want to take the pressure off without sacrificing the beautiful look of crown moldings, Focal Point Products offers DIY options that you can easily measure, cut and install in a single afternoon. Beautifully crafted from durable polyurethane, our crown molding is time saving and easy to handle.
With Focal Point Products crown molding kits, you won't need to measure molding length as precisely since the patented Molding Mates cover unsightly cuts allowing a 3" margin of error. All pieces clip on easily, using their patented Quick Clip installation system.
If you want to avoid measuring pains, Focal Point will give you an easier alternative. Contact us today with any questions, or buy your kit online now!